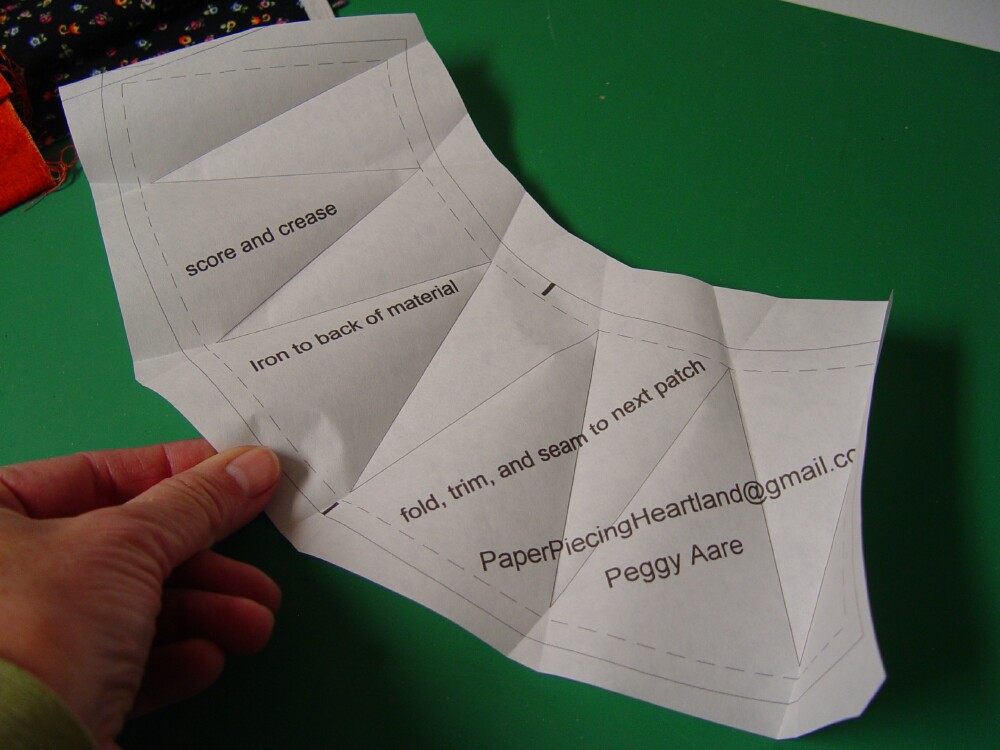
Consider a New York Beauty project. Score the freezer paper on all seam lines, and all the way across the paper. Crease on those lines to make folding the paper later easier
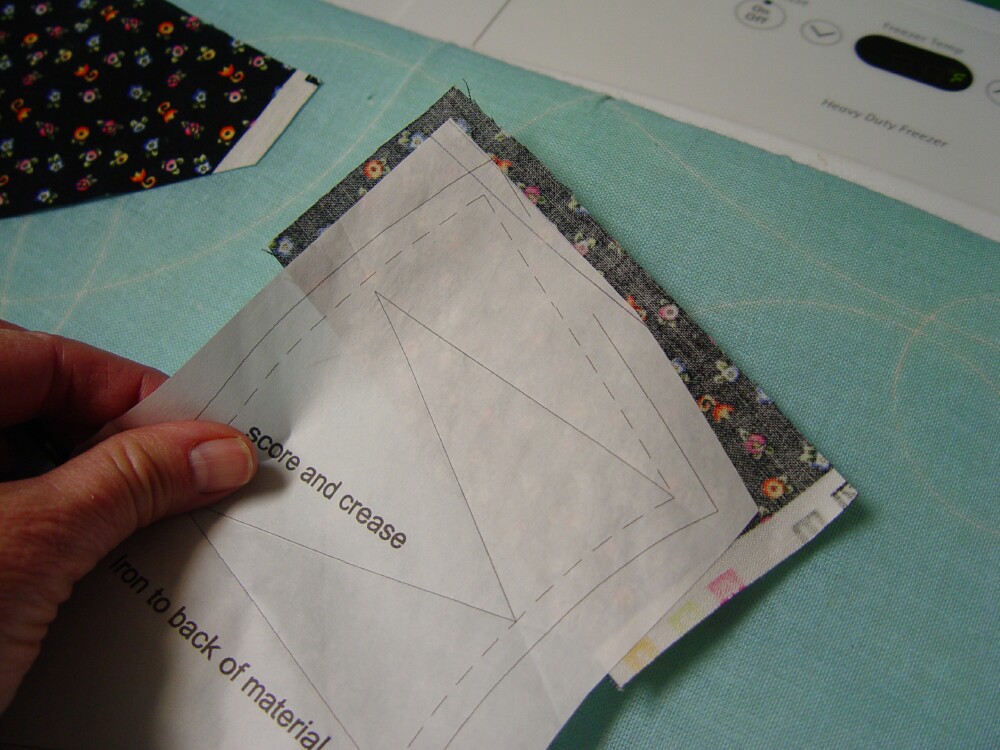
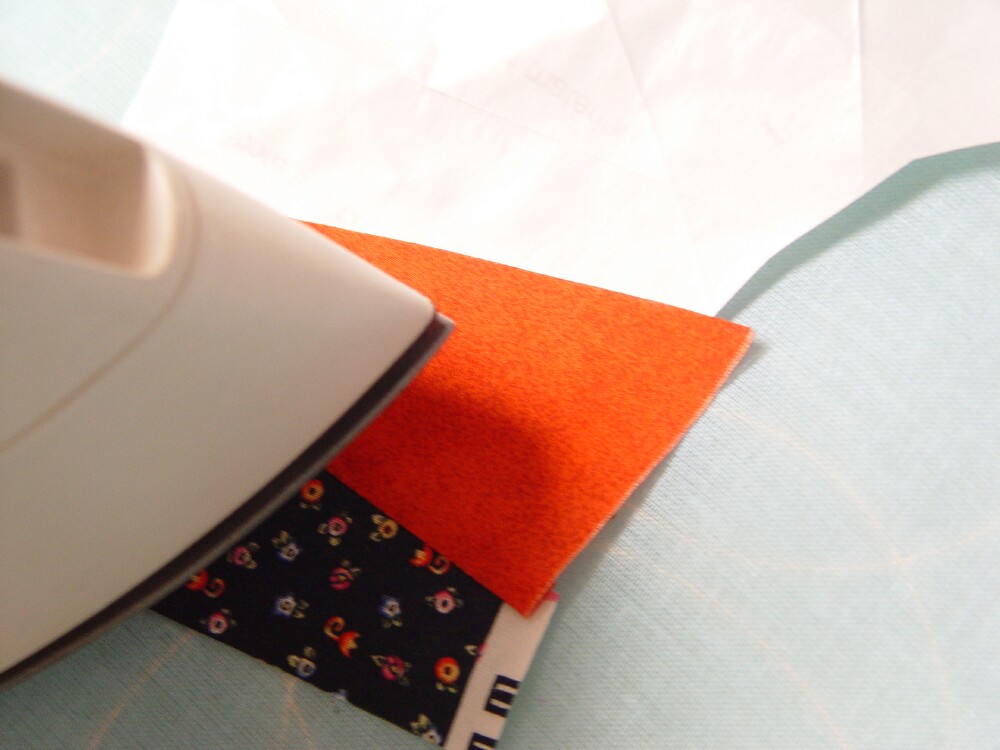
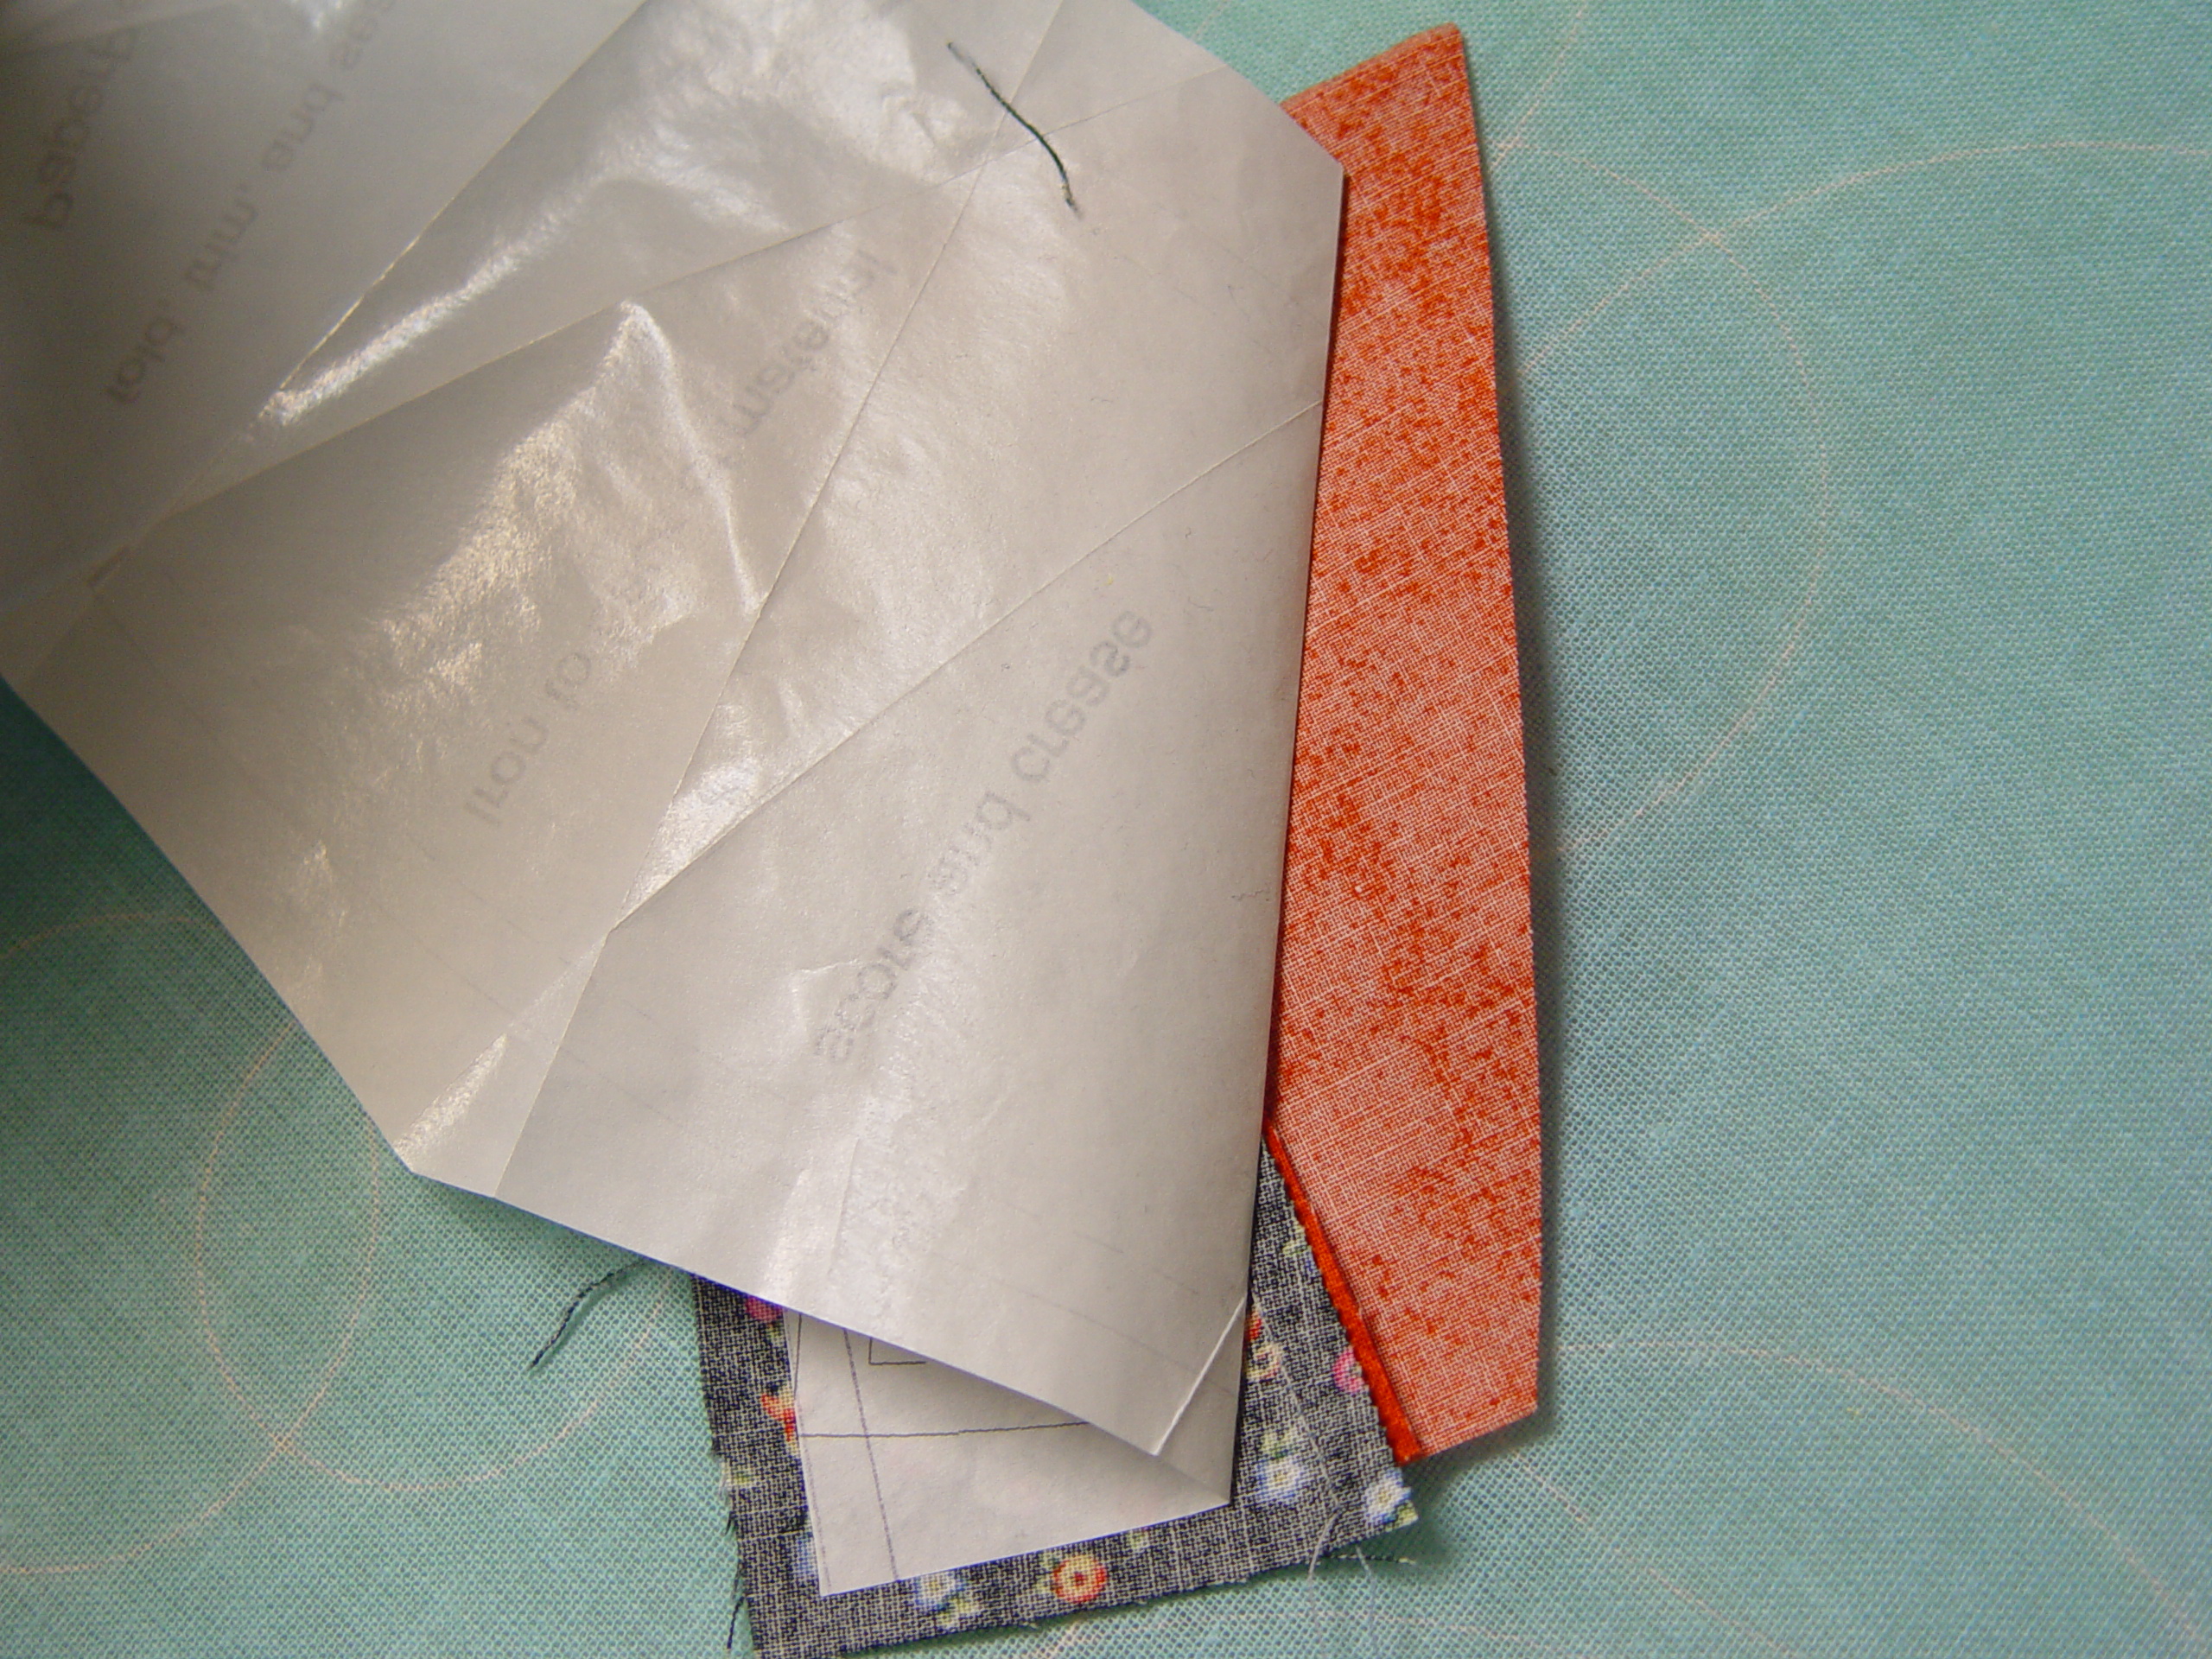
Iron the shiny side of the freezer paper to the back side of your first patch making sure there is ample fabric all around for the seam allowance.
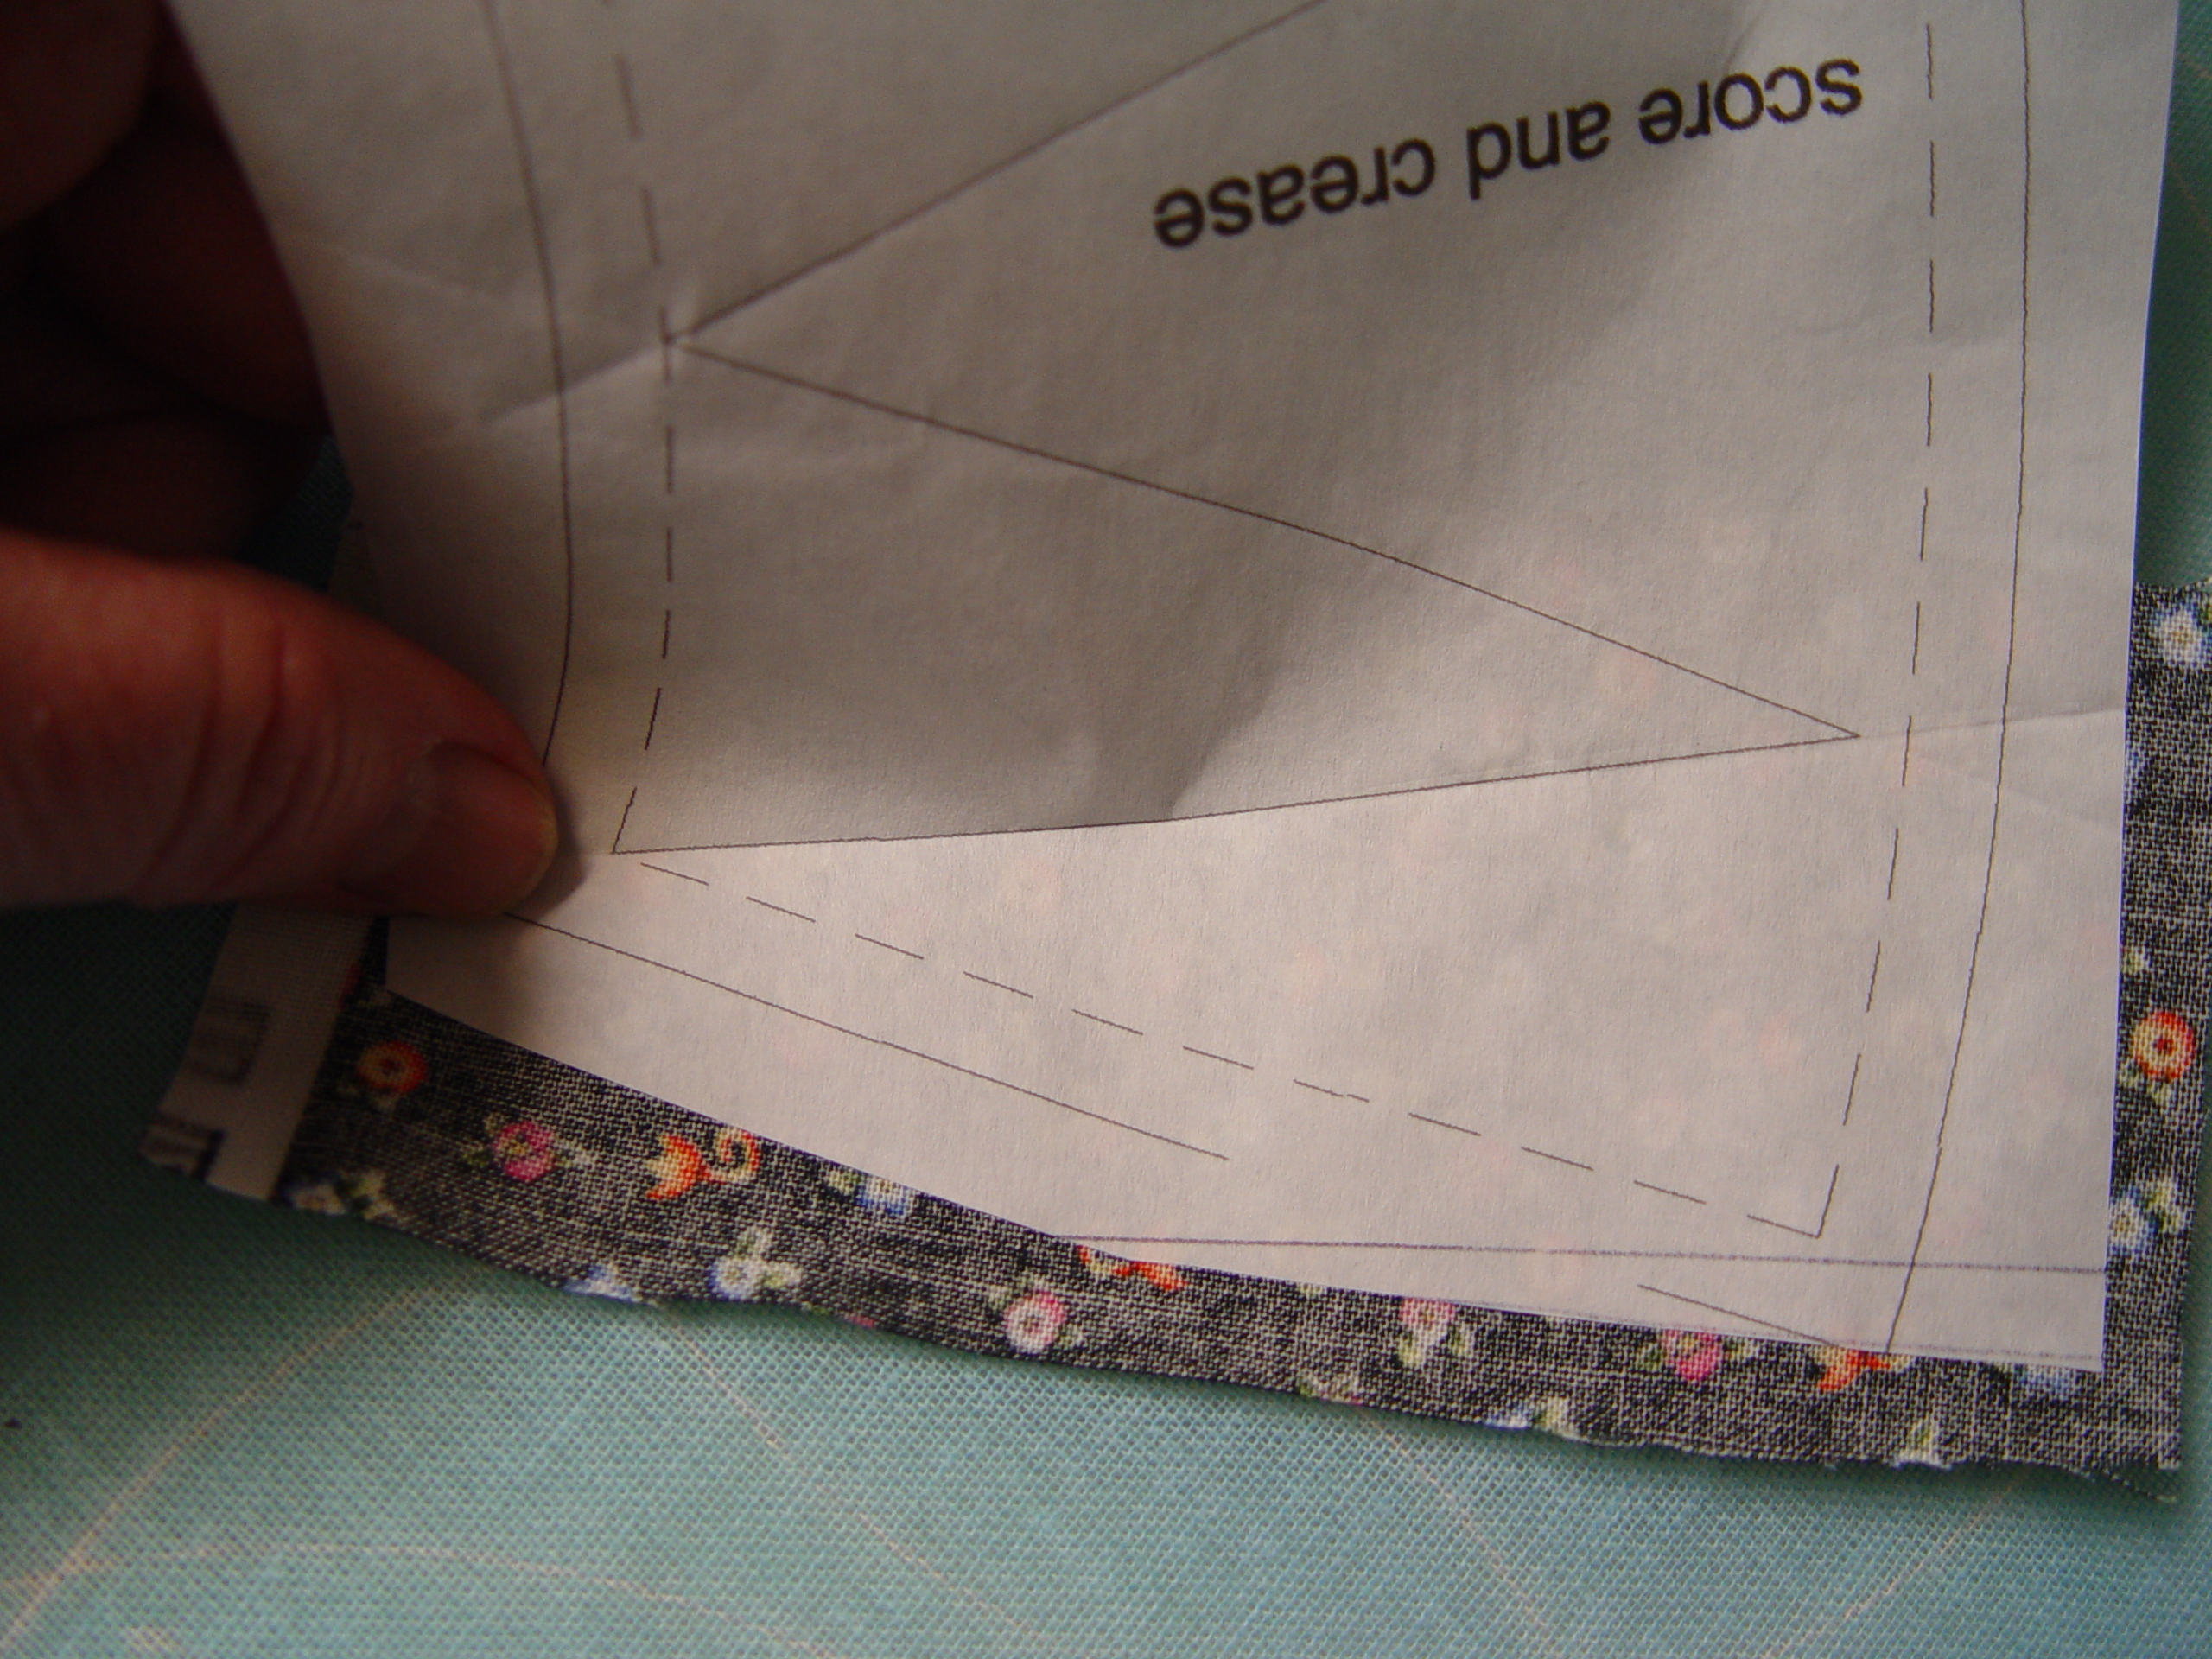
Fold the freezer paper back along the seam line for the second patch. You will have to peel a bit of the fabric off of the freezer paper to get to the fold line.
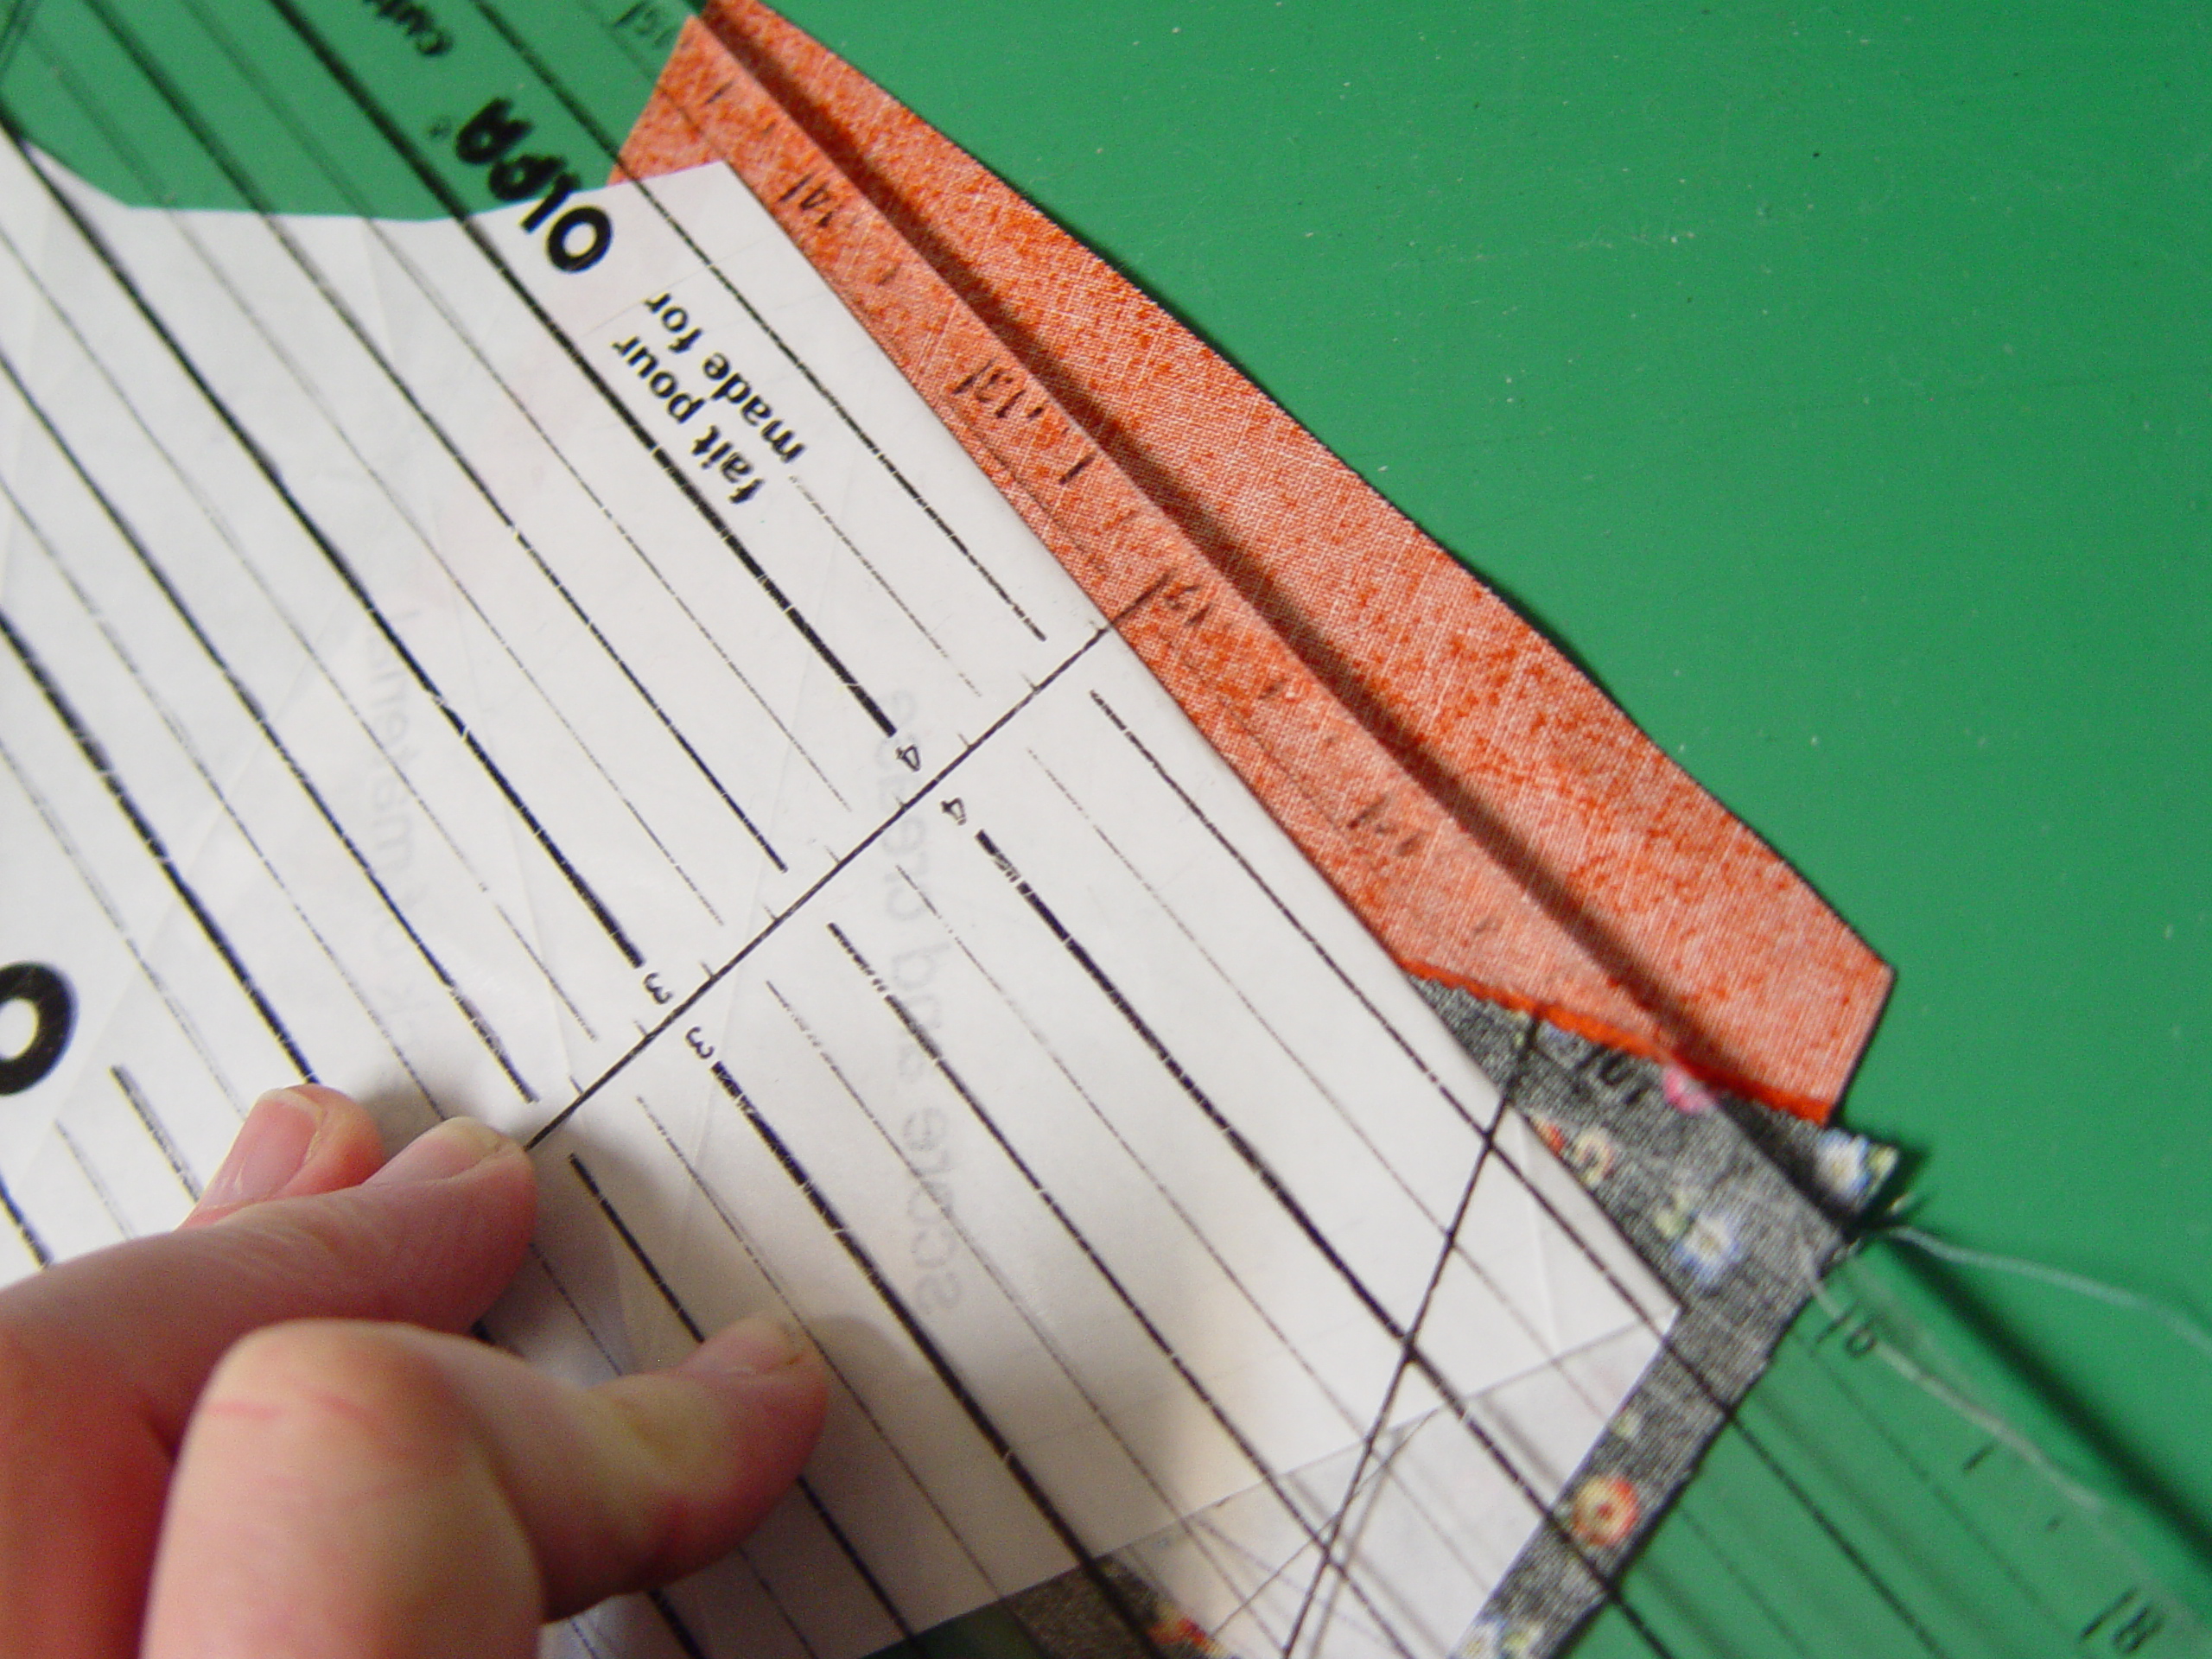
Take your second patch and place it in the standard fashion: right sides together with your first patch. Keep the freezer paper folded back on itself at the seam line. You need not line up the seam allowances, but instead just make sure there’s enough fabric to cover all of the area for the second patch plus seam allowance. Oversize your patches to begin with.. Use rectangles to make it easier to cut out. You will be trimming them as you sew. Later on you can reduce the size of your patches when you are comfortable with the piecing process.
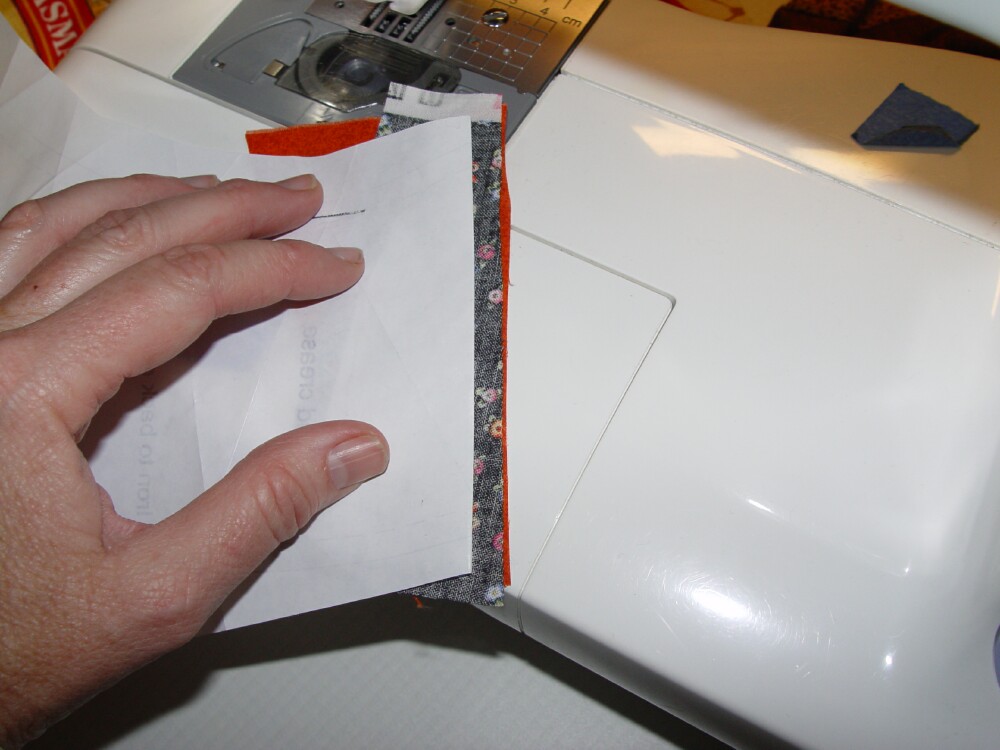
Hand hold this layout and take it to your sewing machine.
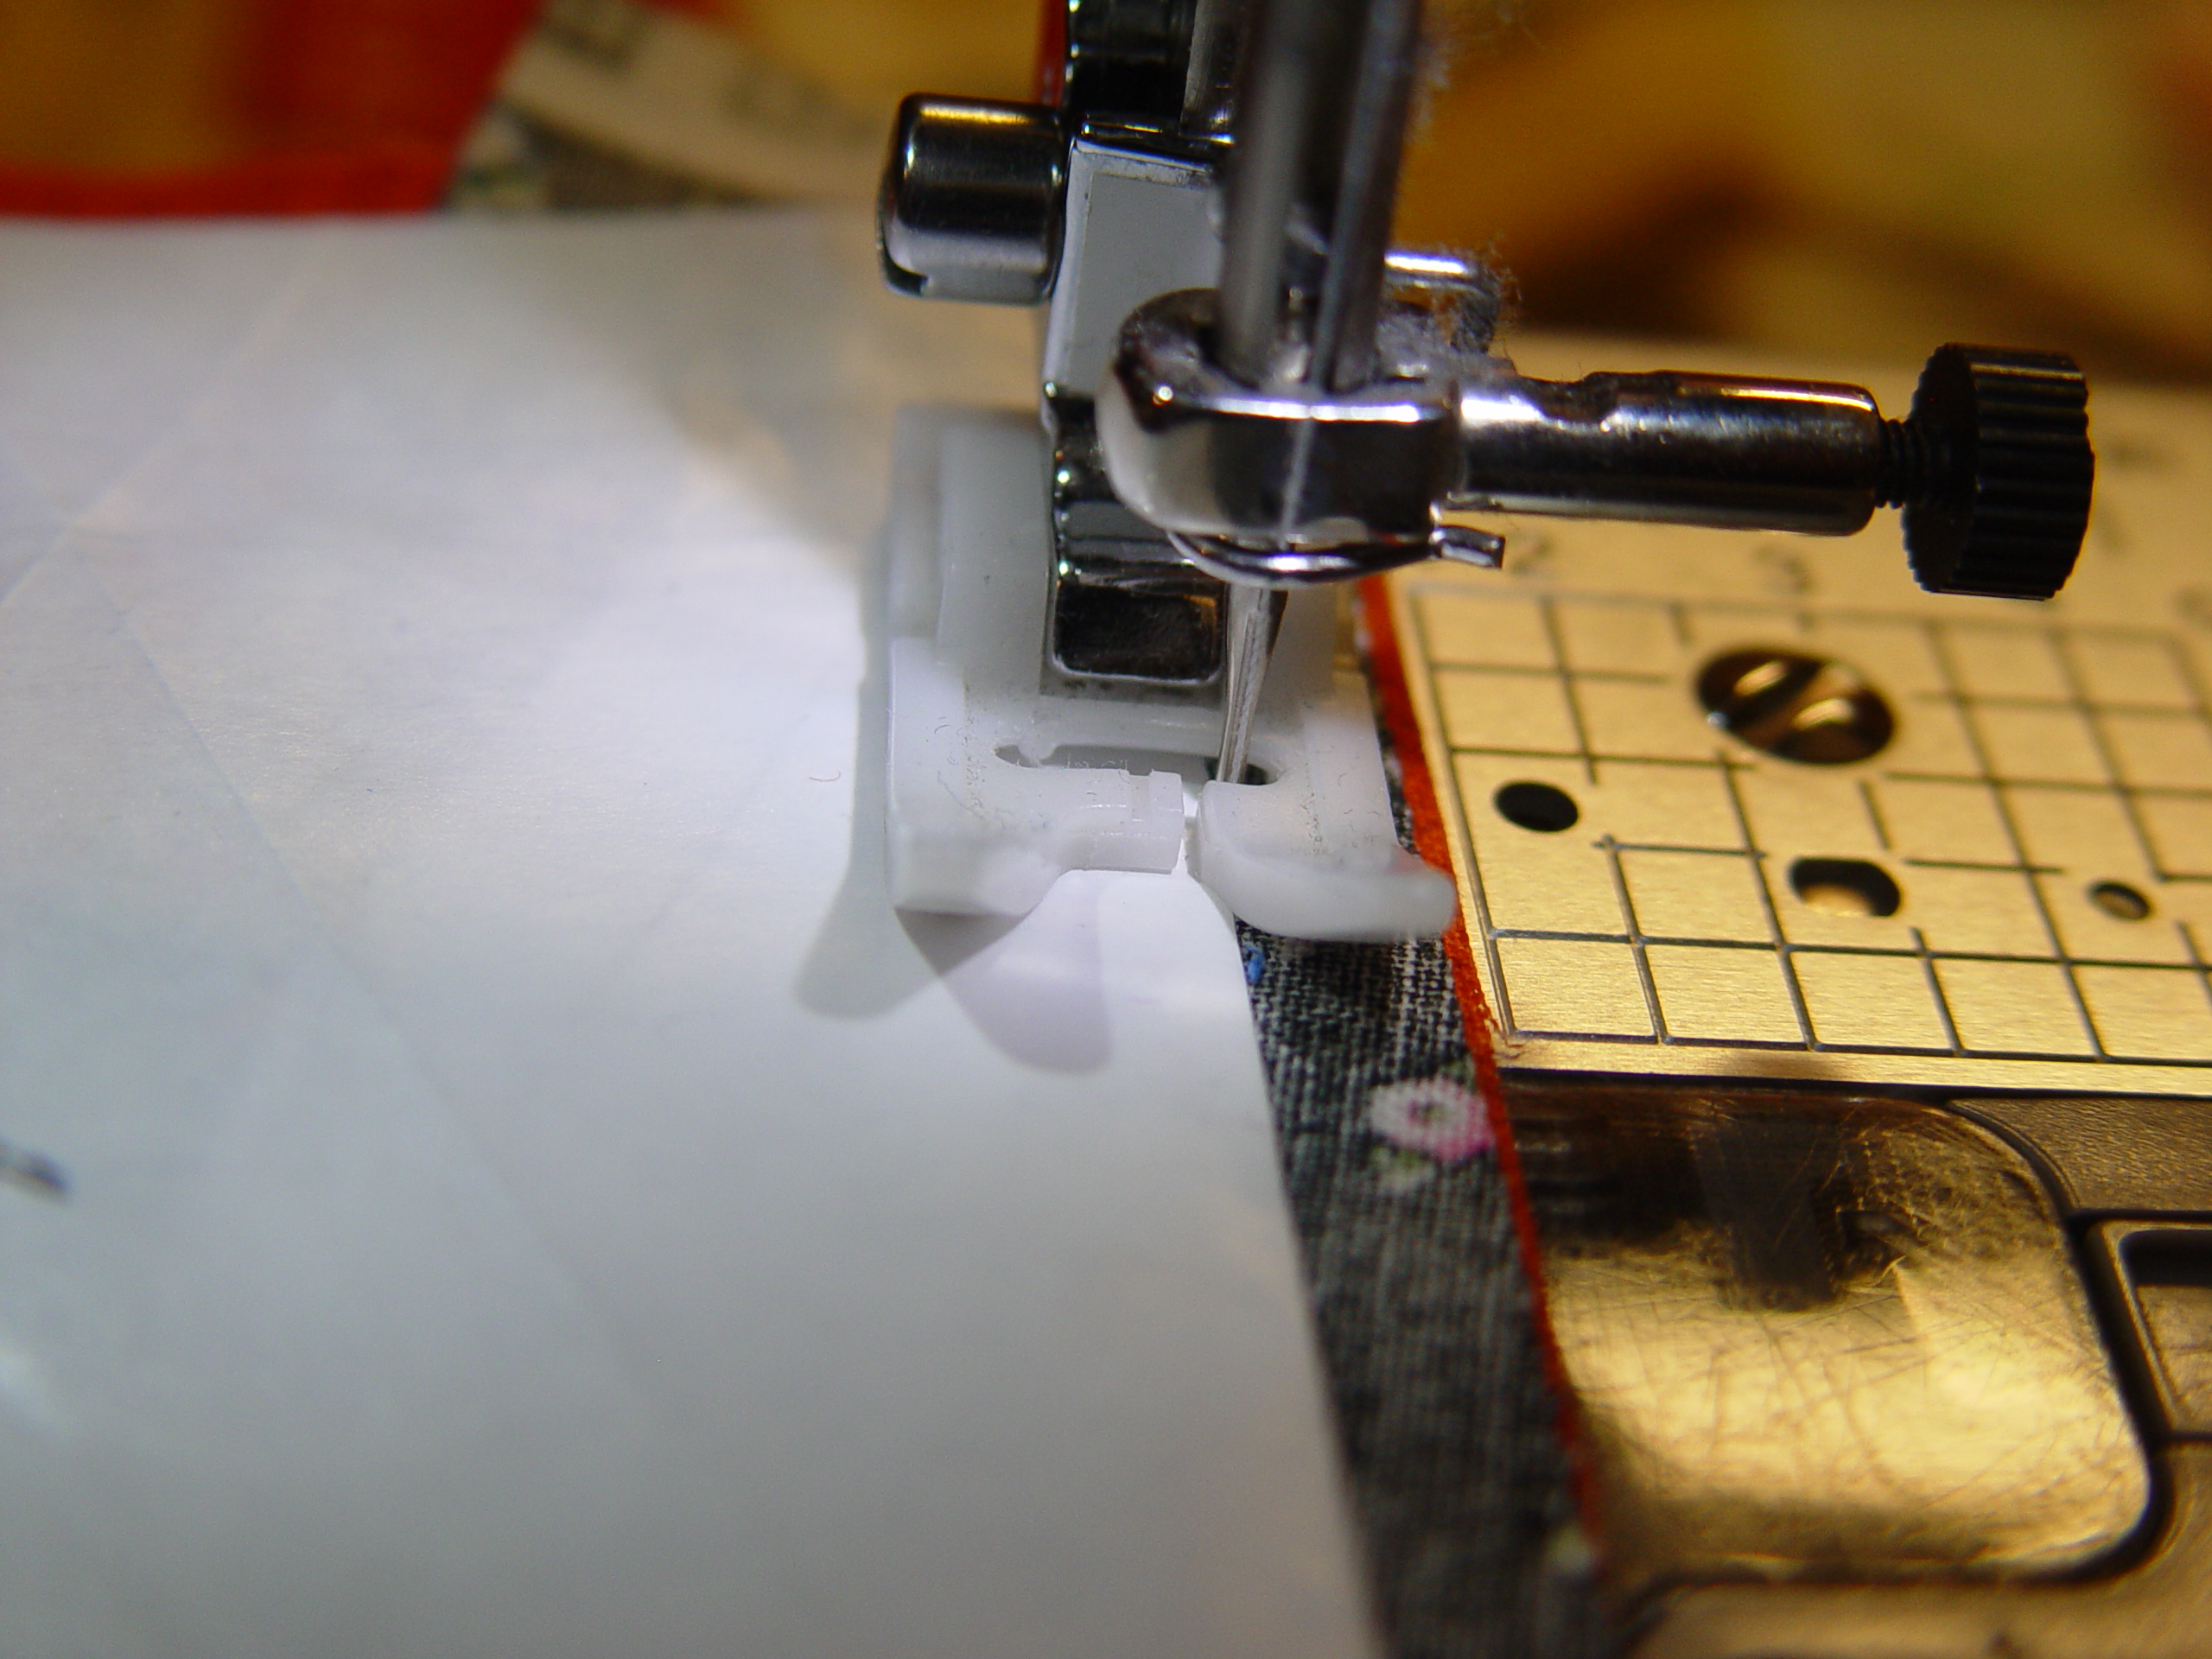
Sew along the paper fold coming as close to it as you can without piercing the paper.
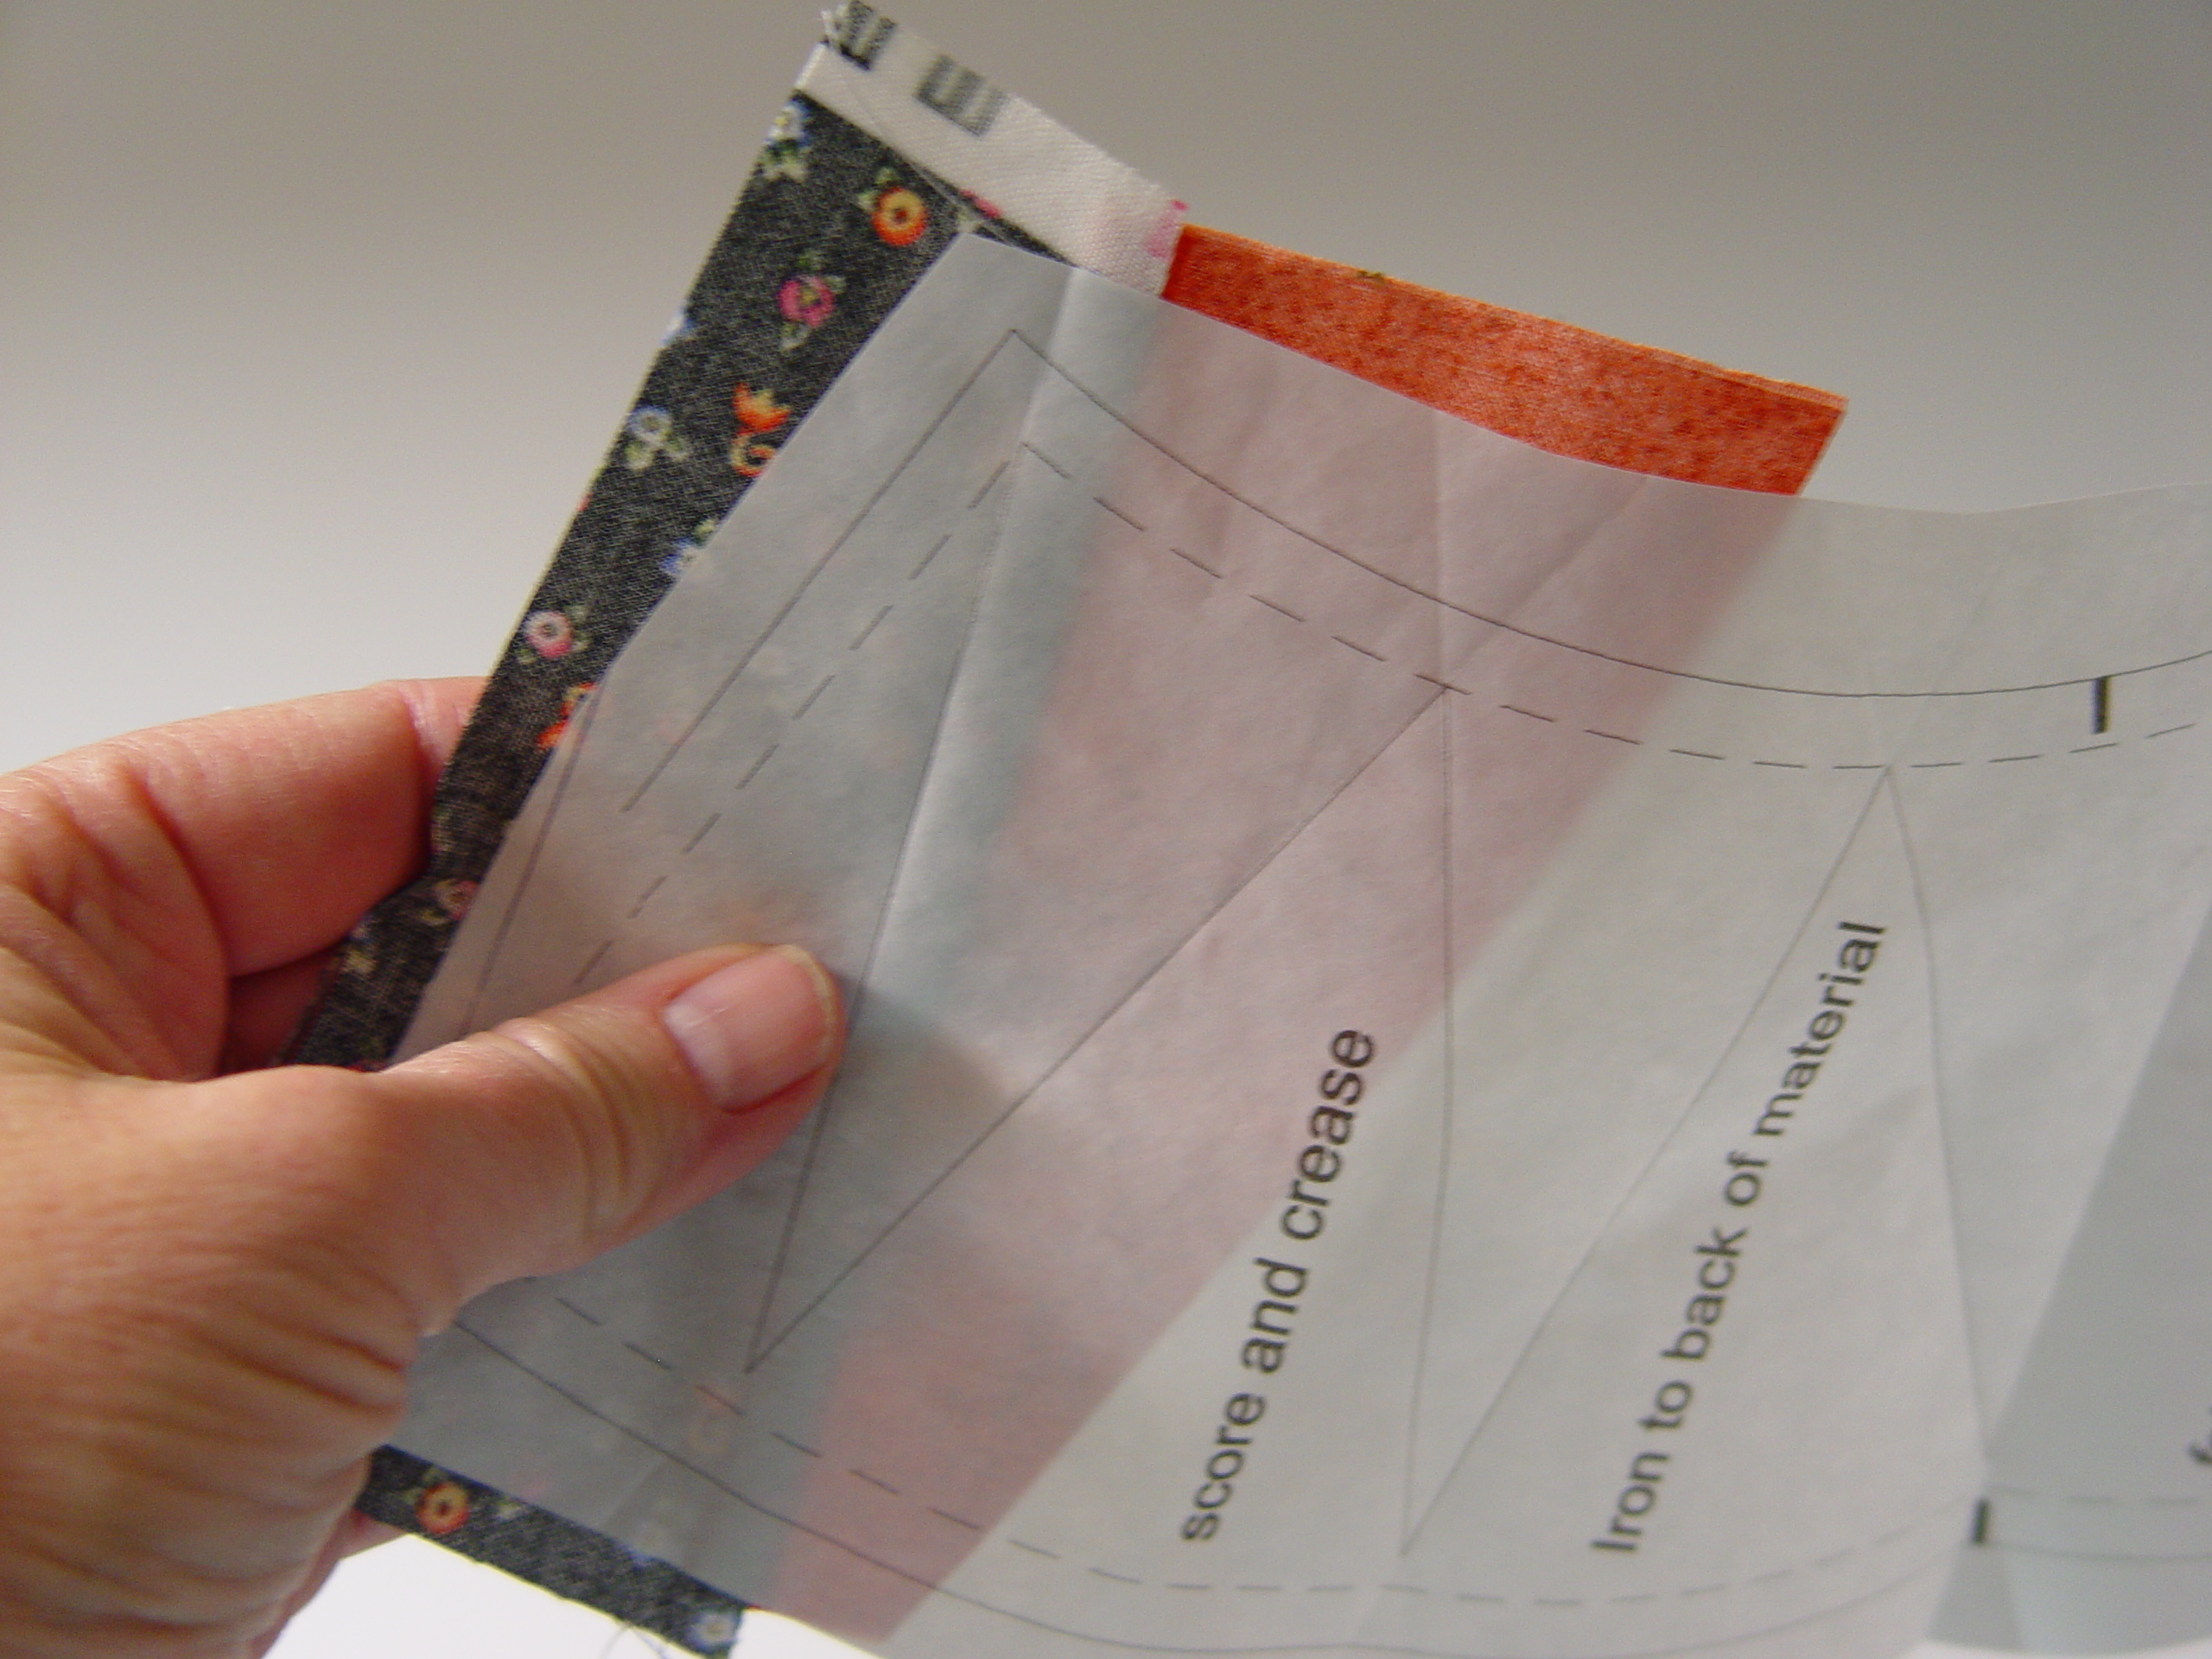
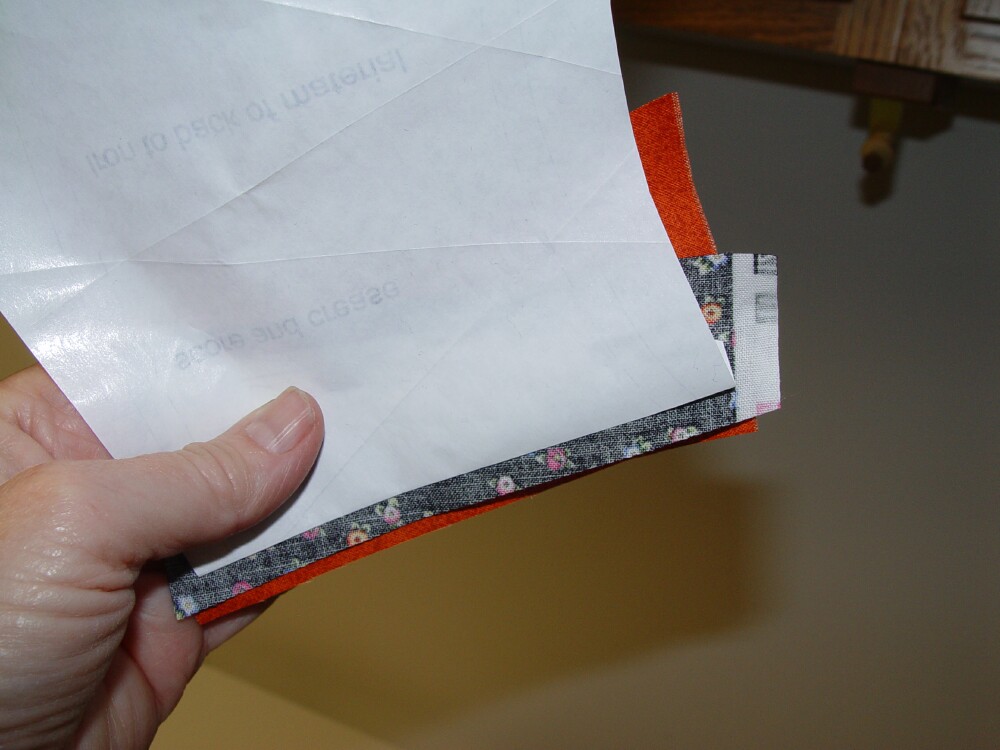
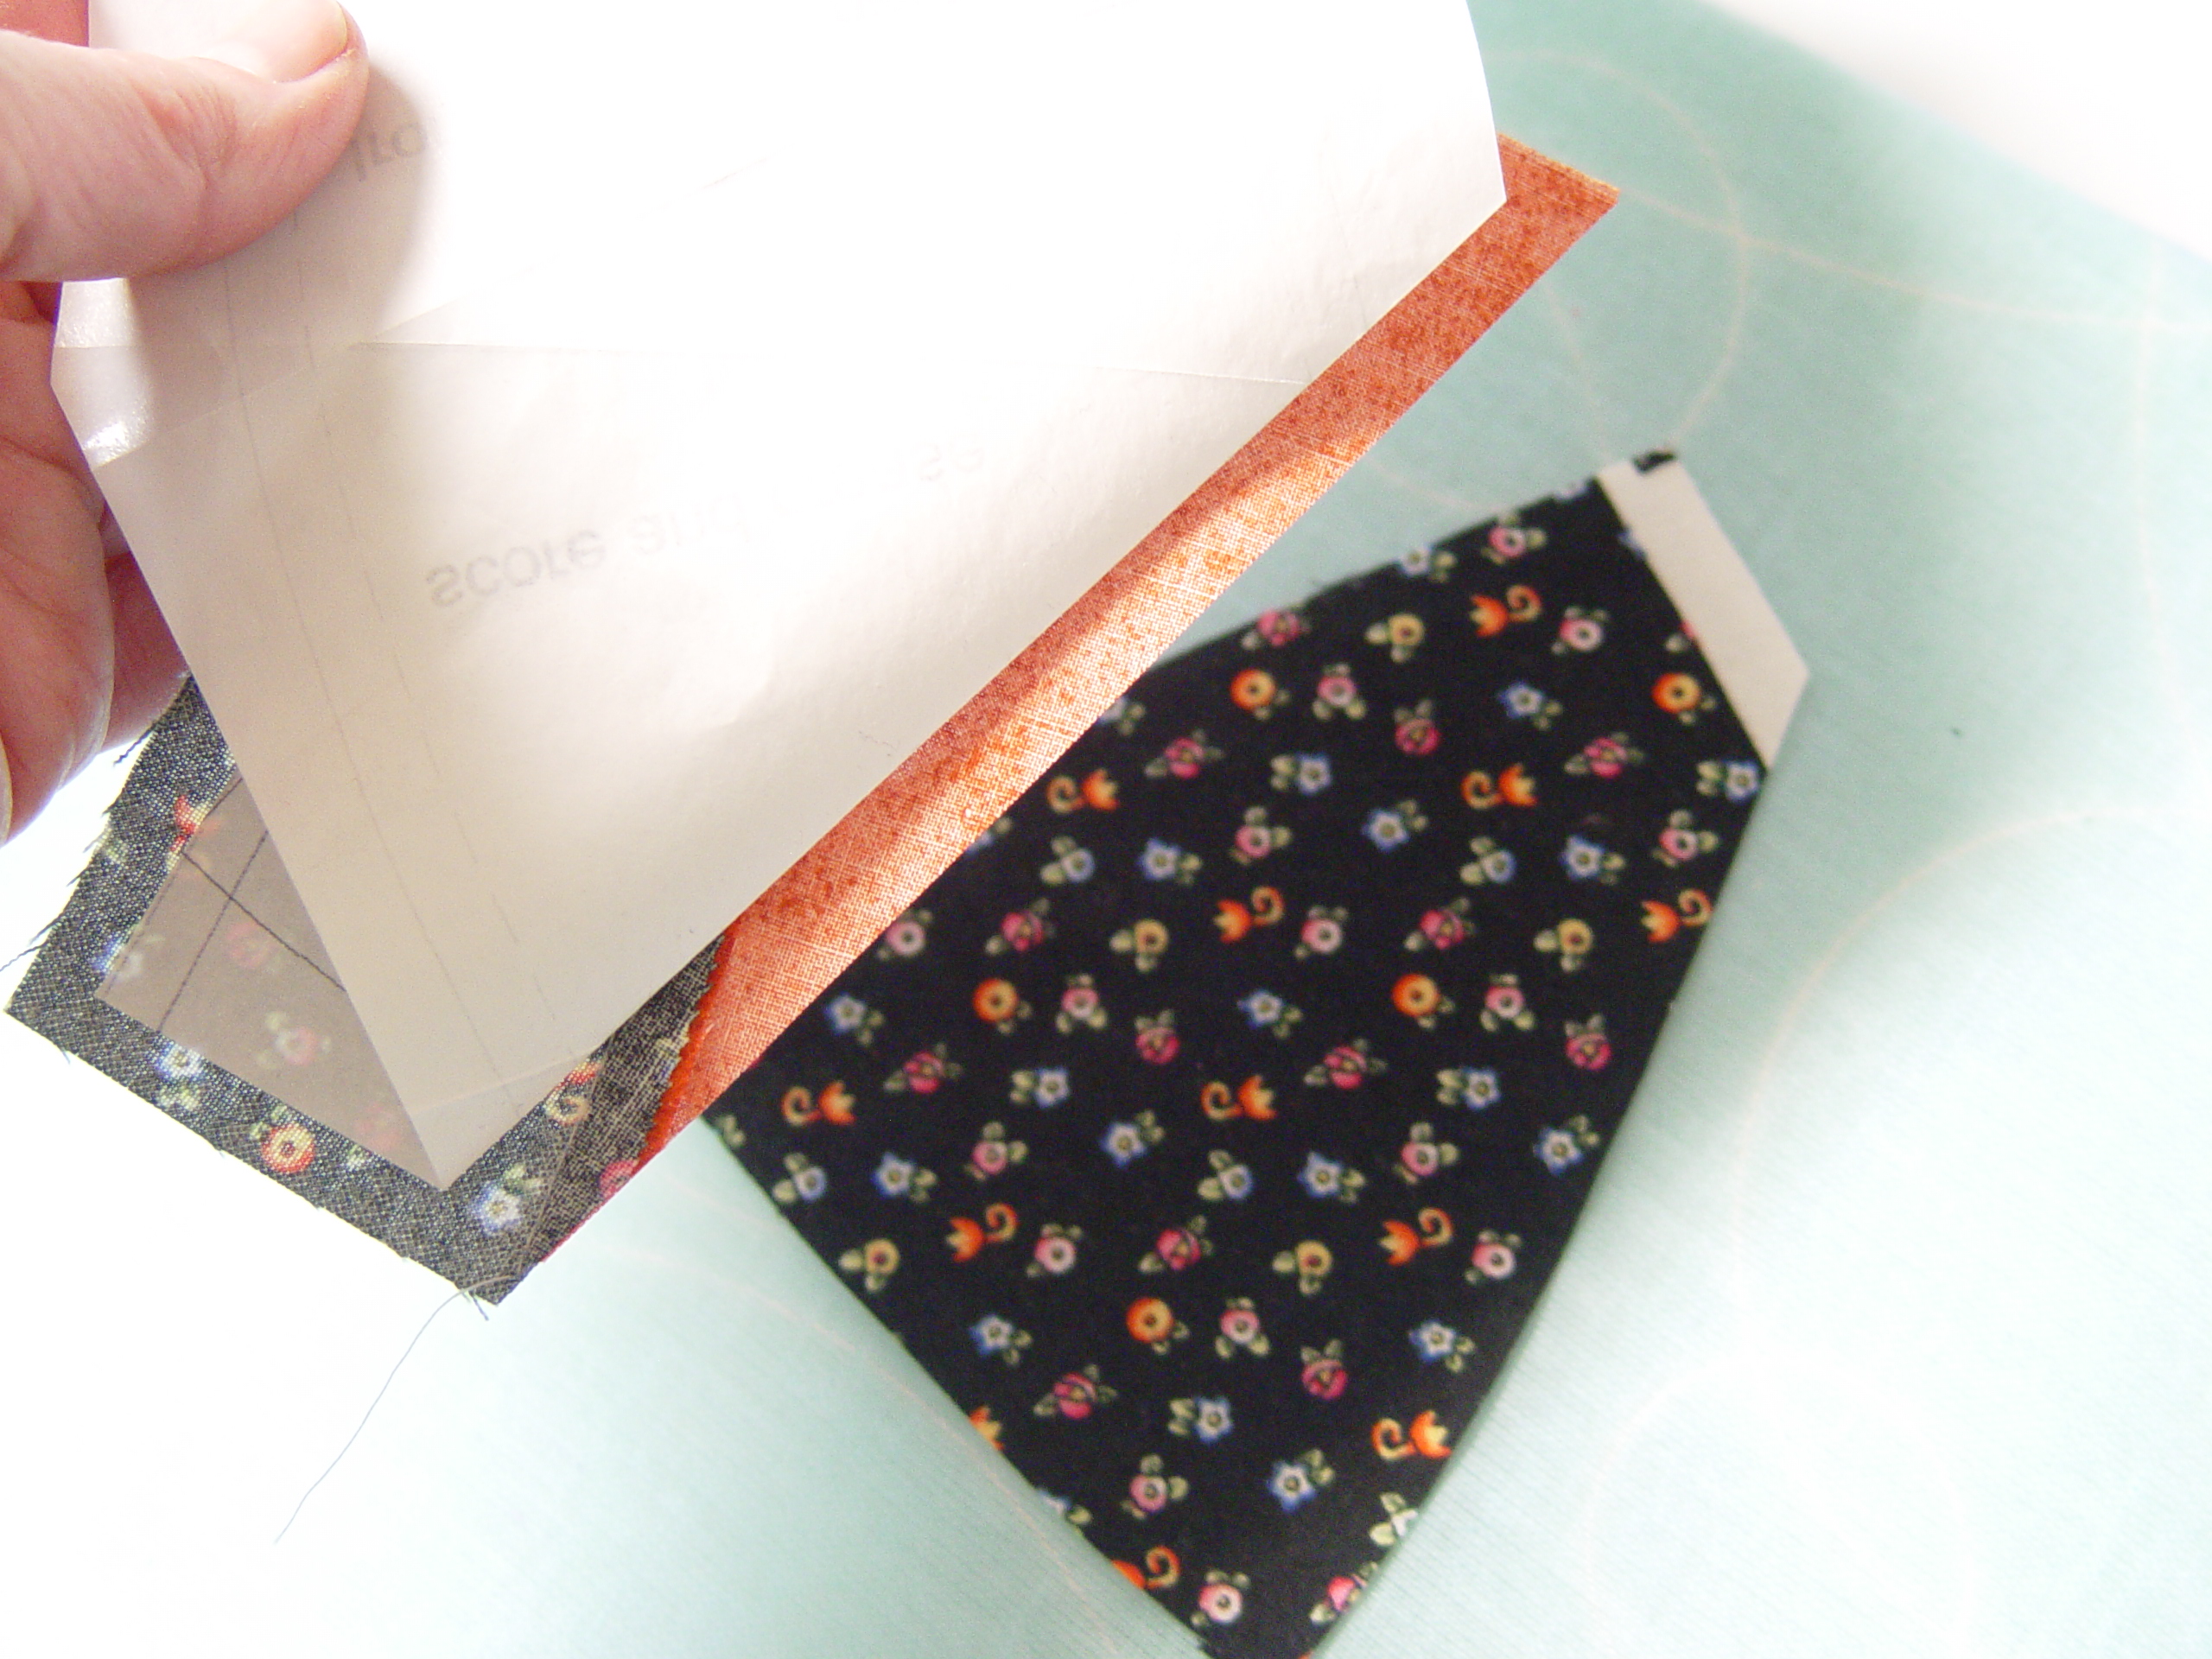
Unfold the freezer paper, and unfold the newly seamed 2nd patch. You can check at this point to see that you have plenty of fabric covering the area for the second patch.
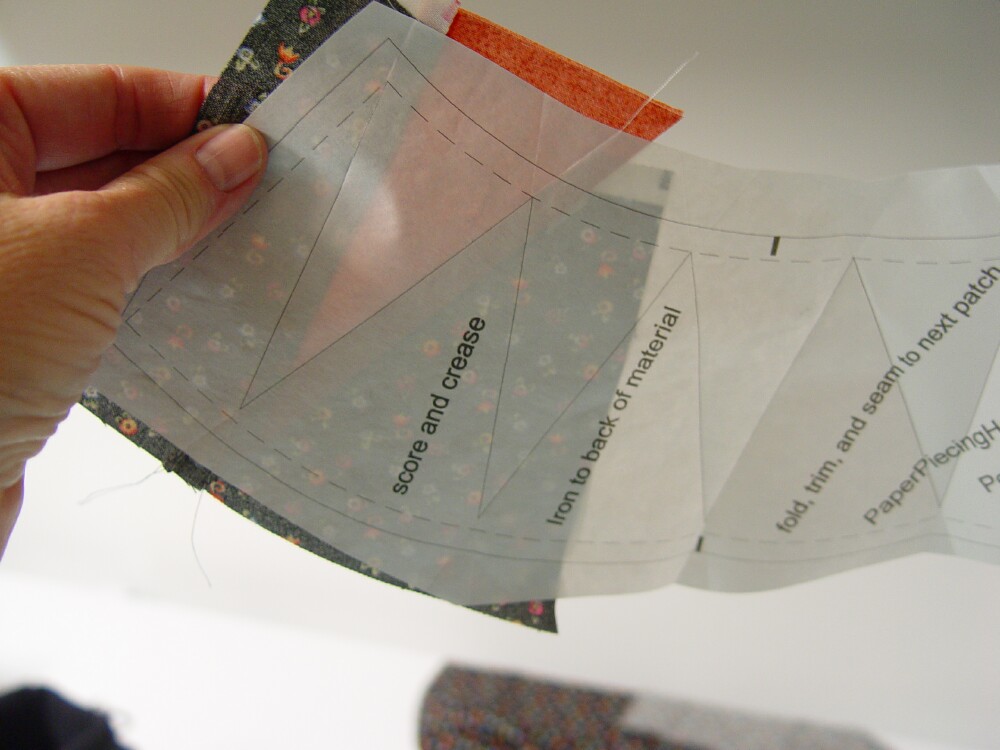
Without disturbing the way the first patch is sticking to the freezer paper, continue by pressing both 1+2 to the freezer paper.
Fold the paper back along the next seam line.
Trim the seam allowance to approximately 1/4″.
Continue adding patches.
The first 3 patches are the most difficult. After that the pattern begins to appear and the repeating steps become easier to anticipate.
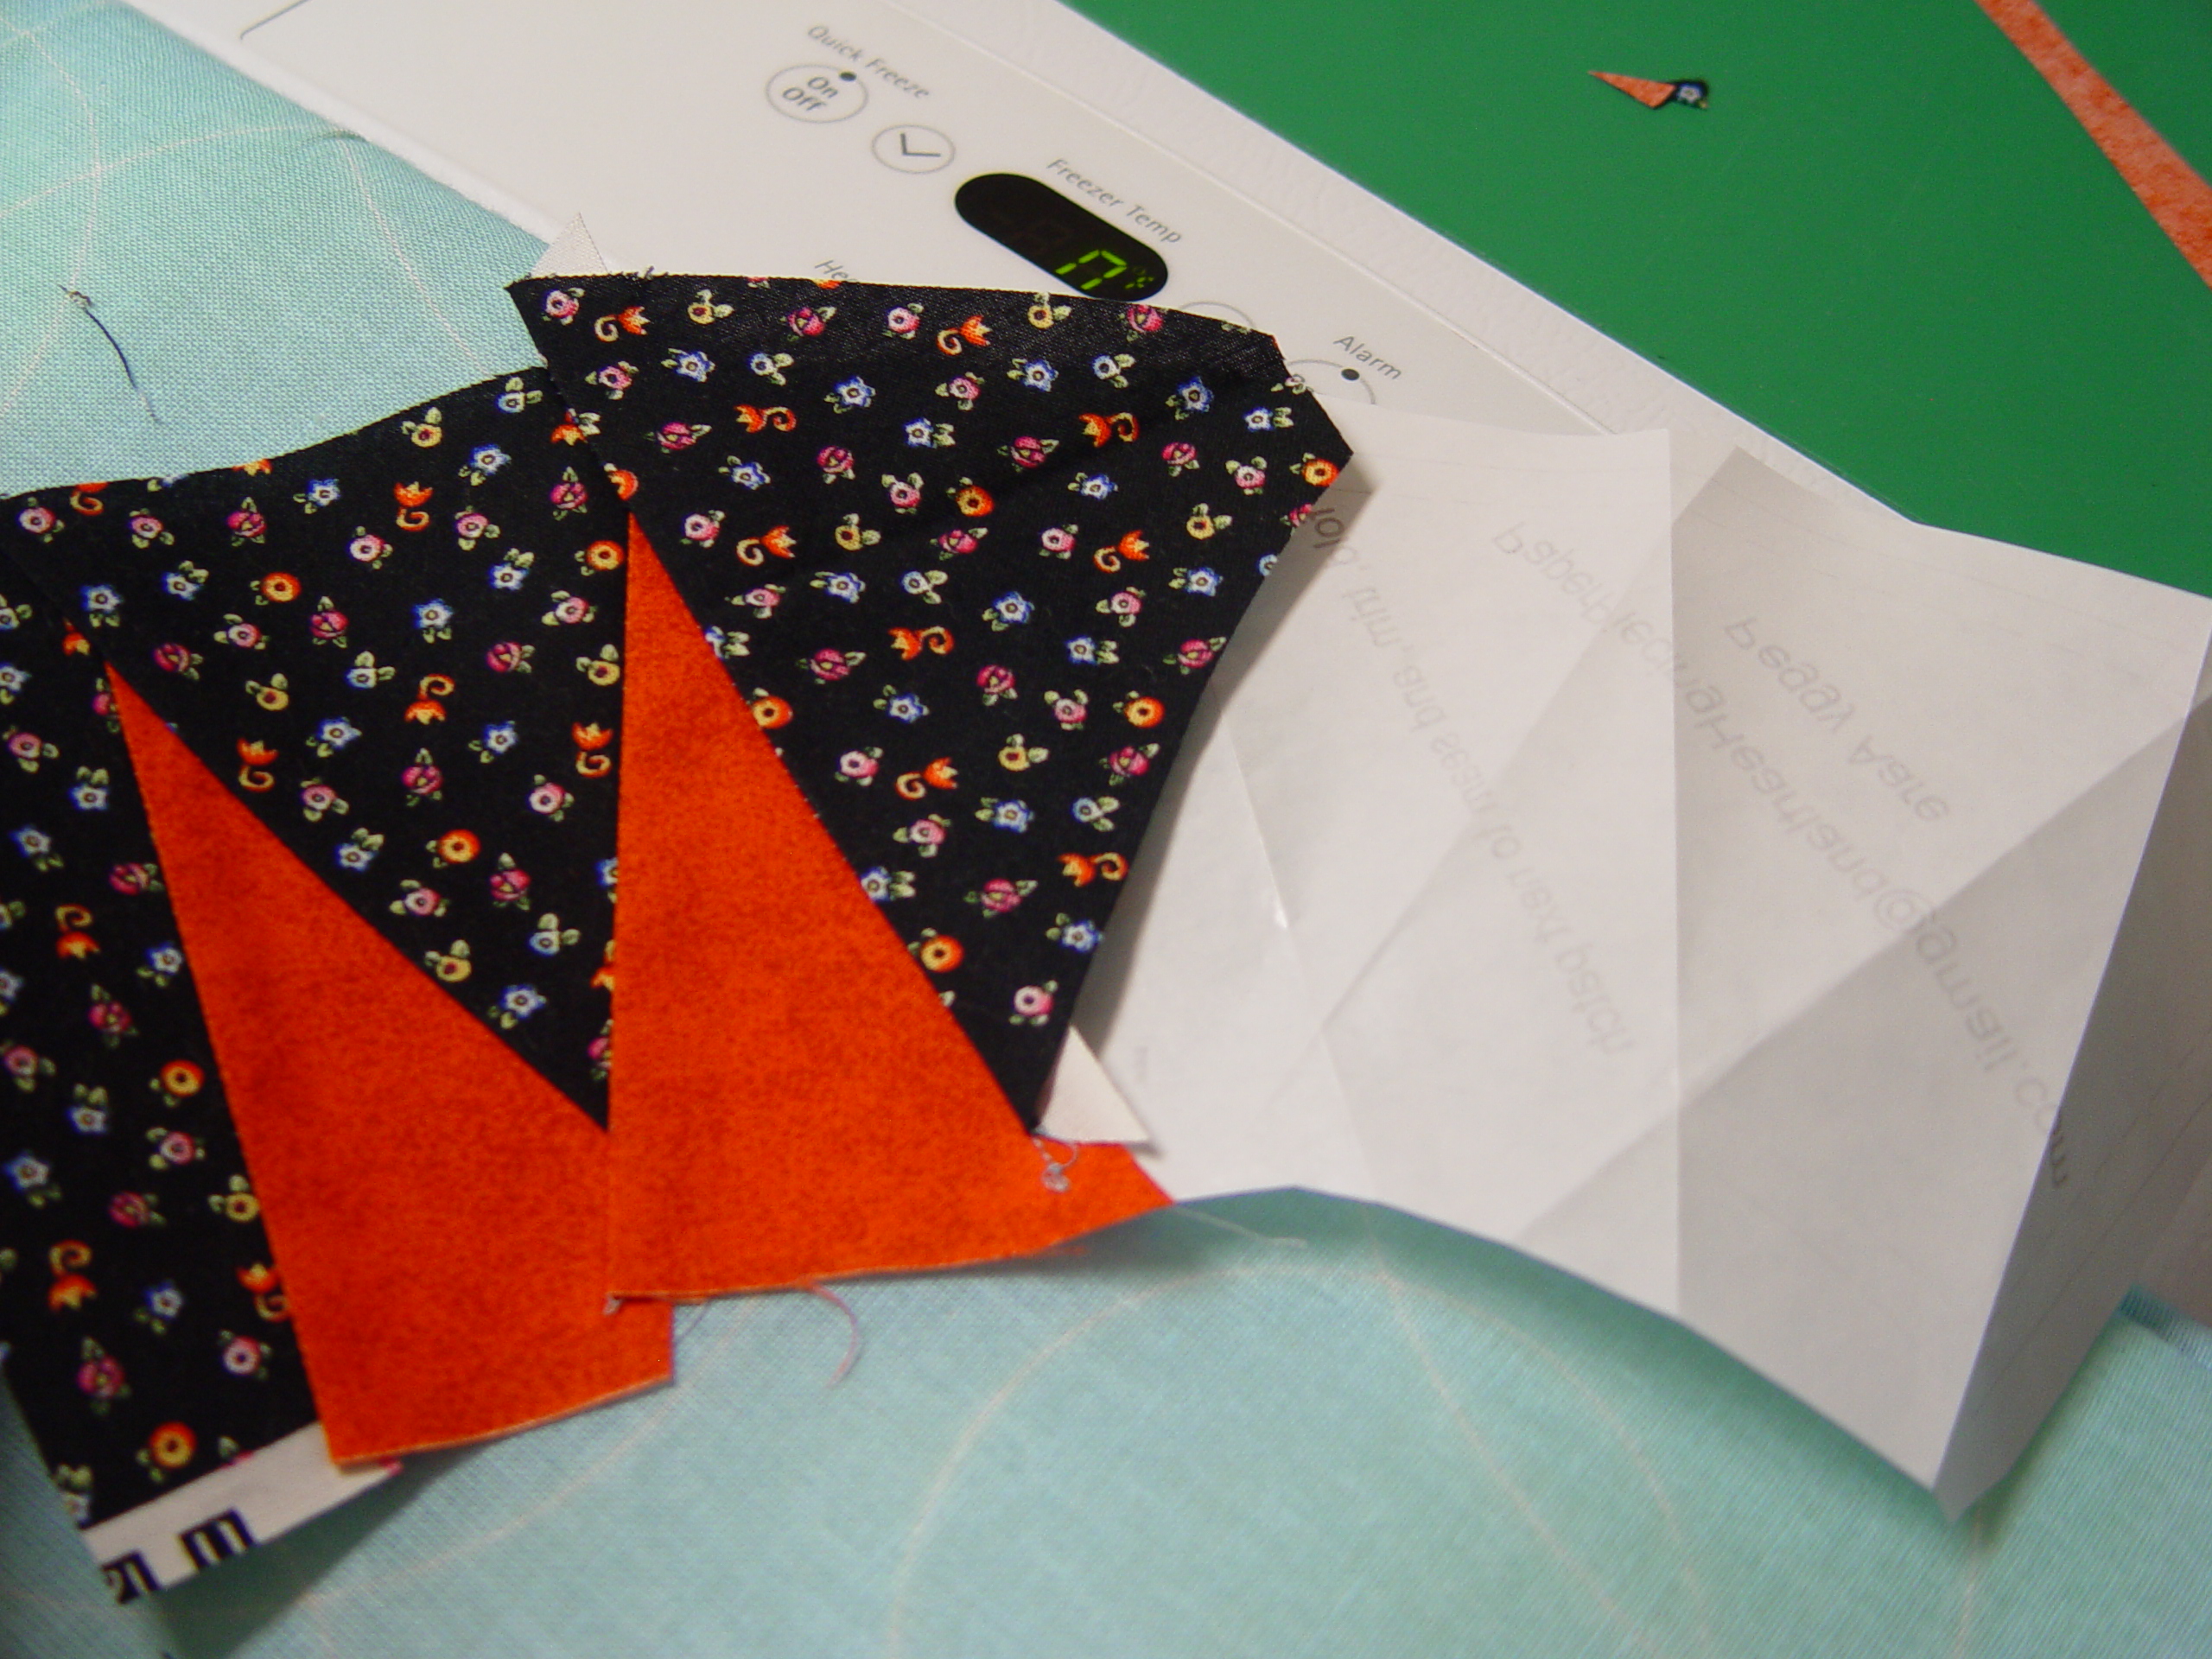
Flip the project over to check on the “good” side and congratulate yourself. If you find the freezer paper is not sticking to the first patches, go ahead and add some pins to keep it in place. After you have all your patches added and ironed, then you can trim the outside cutting line and add the background pieces.

Pingback: Free Paper Piecing Turkey | WisconsinQuilting
I’m learning so much. I’ve done tiny paper pieced projects before. But I think I wasn’t using freezes paper. Thank you for these tutorials.
Great instructions, I am anxious to try some of your patterns. You definitely inspire me.
Pingback: Antique Car Paper Piecing Quilt Pattern | WisconsinQuilting
Thank you so much for your tutorials on paper piecing and sewing techniques!
Thank you!!
Peggy
Pingback: Christmas Anticipation: paper piecing | WisconsinQuilting
Pingback: The Goose and Gosling-A Paper Pieced Pattern – The Inbox Jaunt